Multi-Monitor Gaming - The hard way
I can never do things the easy way when it comes to my projects, I am a guy that has some good ideas, but honesty most of the time its a 50/50 on how well they turn out.
My main problem is I can never quite wait to finish them, I want it done..and I want it done now, I want to see my idea come to fruition as quickly as possible.
If you can imagine what a fully grown man acting like an excitable child on Christmas morning looks like you'll have some idea what its like to be around me when I have a "project" on the go.
After a trip over to my brothers one Sunday afternoon and seeing that he had added a second smaller monitor to his current gaming setup for displaying sensor info e.t.c whilst in game, I thought to myself "that looks good" and decided I would do the same.
I got home and proceeded to look up specs on monitors that I could use for this purpose, I don't quite know what made me think of a laptop screen but the idea presented itself to me so I began my research into this.
A few hours sat in front of google I stumbled apon a post at www.racedepartment.com
from a guy named Nicholas Chong who had a 27" 2560x1440 display much like my own ASUS PB278Q.
Nicholas had the similar idea it would seem, and had added 2 x 15.4" 1440x900 laptop lcd's to either side of his monitor for 4360x1440 surround gaming.
My goals changed in an instant, considering I mainly play race sims and after seeing his pictures I knew this is what I wanted to do.
Nicolas Chong's Setup
More research followed, I knew the resolutions would be a perfect match and although 15.6" would be the perfect size and PPI to match my 27" display I could not find any 15.6" 1440 x 900 displays.

How the displays match
I measured the screens viewable area and Using DPI Calculator at https://www.sven.de/dpi/ this gives me the following:
27" ASUS PB278Q measured at 26.96" - Display size: 23.5" × 13.22" = 310.58in² (59.68cm × 33.57cm = 2003.73cm²) at 108.95 PPI, 0.2331mm dot pitch, 11869 PPI²
15.4" Samsung LTN154X7-L03 at 15.43" - Display size: 13.08" × 8.18" = 107in² (33.23cm × 20.77cm = 690.35cm²) at 110.05 PPI, 0.2308mm dot pitch, 12112 PPI²
you can see there is slight variance in between the two at 1.1 PPI, but in use it's not that noticeable, a 15.6" 1440x900 display would have been perfect.
Parts started to arrive and when the screens turned up I got down to work.
First up was the problem of mounting the displays, being laptop screens they have no mounting mechanisms except for some small screw holes on either end of the horizontal plane, In Nicolas case he used some cheap plywood to stick to the back of the screens.
I cut some wood and tried this mounting technique and 2 problems immediately became apparent.
- Positioning these was tricky due to sag in the sticky pads, which would inevitably get worse with time.
- As these displays were to be mounted at about 23 degree angles from the center the hideously ugly back side of the left monitor presented itself to all those that entered the room much like a fat plumber showing his crack whilst he working on your sink. (yeah it looked that bad!)
I went on a trip down to my local machine shop (Mackays of Cambridge) where I got them to cut 4 pieces of 3 mm aluminum sheet into 2 x 346.5 mm x 222 mm lengths and 2 x 344.5 x 220 mm lengths.
The two longer pieces when combined with 2 x 1 mm aluminum L section either end would allow me to make use of the preexisting screw holes on the screens whilst the smaller sections could be used to make the back case and hide the controller cards from sight, these were cut at 220 mm, 2 mm shorter than the monitors themselves to allow for my 2 mm Asus screen bezels.
I have to apologize at this point, I never documented the build with photos as well as I would of liked (please refer to the first paragraph of this post for reason why)

For these sides I used 15 mm aluminum U section cut at 45 degrees and bent to 90.
this was stuck on using some liquid metal (serious stuff)

The smaller back piece could then be screwed onto the aluminium U section via 3 mm x 12 mm self tapping countersunk screws
I used a drill to make a series of holes freehand, then joined them together and filed them down for the display cable to pass through from the LCD.
Whilst doing this and in my haste, I narrowly missed drilling into my little toe, as like a monkey I have a habit of using my feet to grip and or grasp things I'm working on.
This flexibility does come in handy but has obvious risks when working with power tools, its just the weird way I work and even though I keep meaning to buy a dremel for things like this, I just never seem to get round to it.
The drill caught my sock whilst running, causing my sock to tighten to the point of cutting off circulation before I manged to take my finger of the trigger....lesson learnt...wear shoes, use a clamp or stop using monkey grip with power tools present...the important thing is I survived, my sock however was not so fortunate.
With the controller boards its important to remember to mount these with either motherboard stand offs or (like me) if room wont allow, rubberized sticky pads to stop the boards shorting out on the aluminum.
My first Idea of mounting them was to have them attached directly to my main monitors articulating arm, this didn't work out to well due to sag, it just wasn't strong enough to support the weight of the screens.

Mount made from 2 mm x 2 mm aluminum box channel, L-Brackets and wing nuts to articulate..didn't work.
After looking for some small cheap mounts I came across 2 LOGIK LCS14 Full Motion TV Brackets from www.pcworld.co.uk (£44.98 for both) it was nearly exactly what i needed, mounting and getting properly aligned however would be more difficult as these do not allow any fine adjustments.
I attached these new mounts to the back plates of my custom lcd cases and set about trying to line everything up.
If you decided to mount independently of the center screen getting everything to sit right is a major challenge.
My wife walked upstairs and caught me with a car jack, jacking up my new side monitors, bent over, one eye closed and tongue slightly protruding in concentration trying to achieve good alignment with my center screen, the look on her face was one more of confusion than anything else or maybe it was worry?...
The jack worked a treat though, taking the weight of the screens and offering fine height adjustment allowing me to mark the wall where the bracket would sit.
I decided to also take the time to cover the laptop lcd trim with black tape to help blend it in with the center screen.
I decided to also take the time to cover the laptop lcd trim with black tape to help blend it in with the center screen.
I then wrapped the whole case with the same tape as I found it gave a quick, but at the same time fairly nice finish.

Screen mounted in place (Controller board buttons visible)

As you can see the finial result is ok and what I would call one of my better projects, overall I'm very pleased with the outcome, It was a fun project and has whetted my appetite for triple screen gaming.
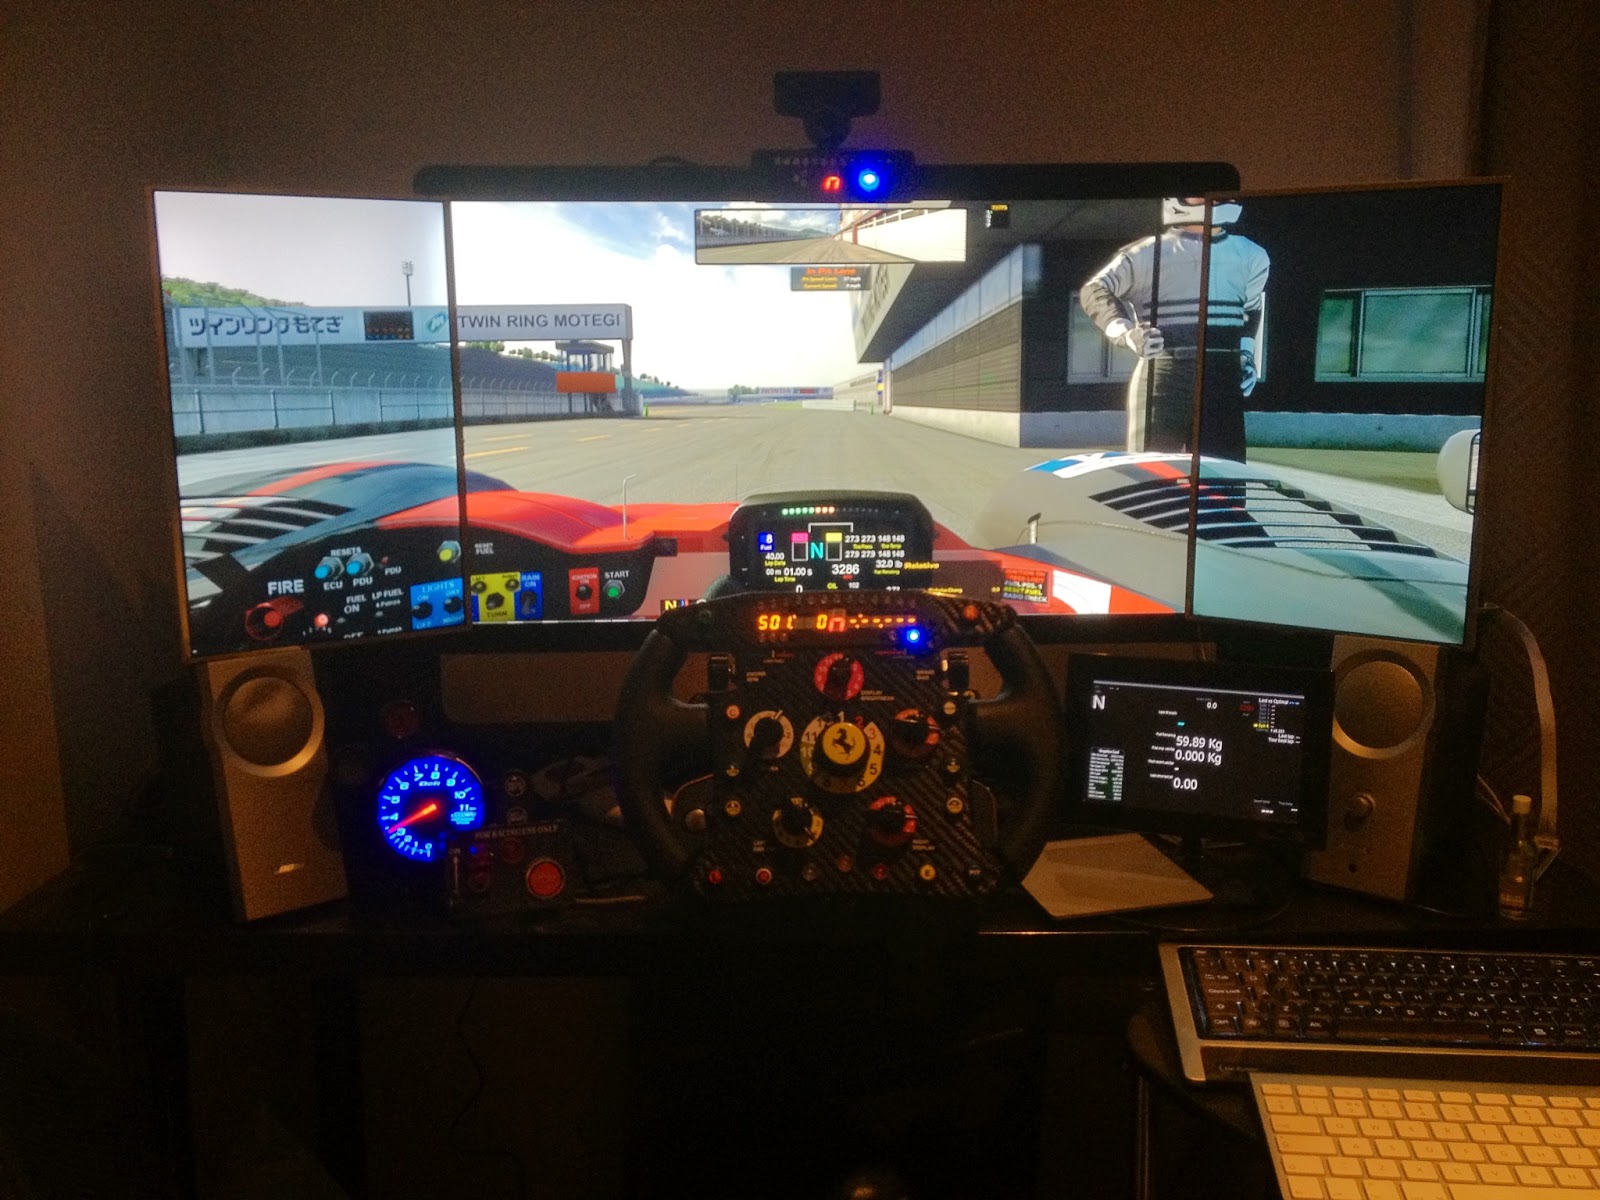
Here it is in all its glory


Dying Light @ 4360 x 1440 running via Windows border-less gaming which can be found here :
Whilst this project fits my needs please be aware that the TN based Laptop screens don't have the best color reproduction, it will never match my centers beautiful IPS display nor did I expect it to.
I have found, in games at least as your focus is always on center this becomes less obtrusive and certainly works well for triple monitor gaming.
The total costs for the project were £292.23 GBP and maybe I could have found some desktop monitors for less that would have worked but the overall aesthetics of this, I think look better.
If your thinking about a PLP setup, I urge you to check out the PLP wiki here http://plp-gaming.wikia.com/wiki/PLP_Gaming_Wiki (I didn't find this site until after I had finished my project) another great place is the forums over at WSGF here http://www.wsgf.org/
I hope you all enjoyed reading, my first of hopefully many posts. Don't forget to subscribe & happy modding :-)
No comments:
Post a Comment